




Safe Isolation Procedure: your 7 step guide
Key steps to safe isolation. Stay safe, lock off and prove dead
Safe isolation is one of the most critical controls in electrical safety. It helps organisations work safely, comply with UK safety requirements, and reduce the risk of accidents, keeping both people and equipment protected.
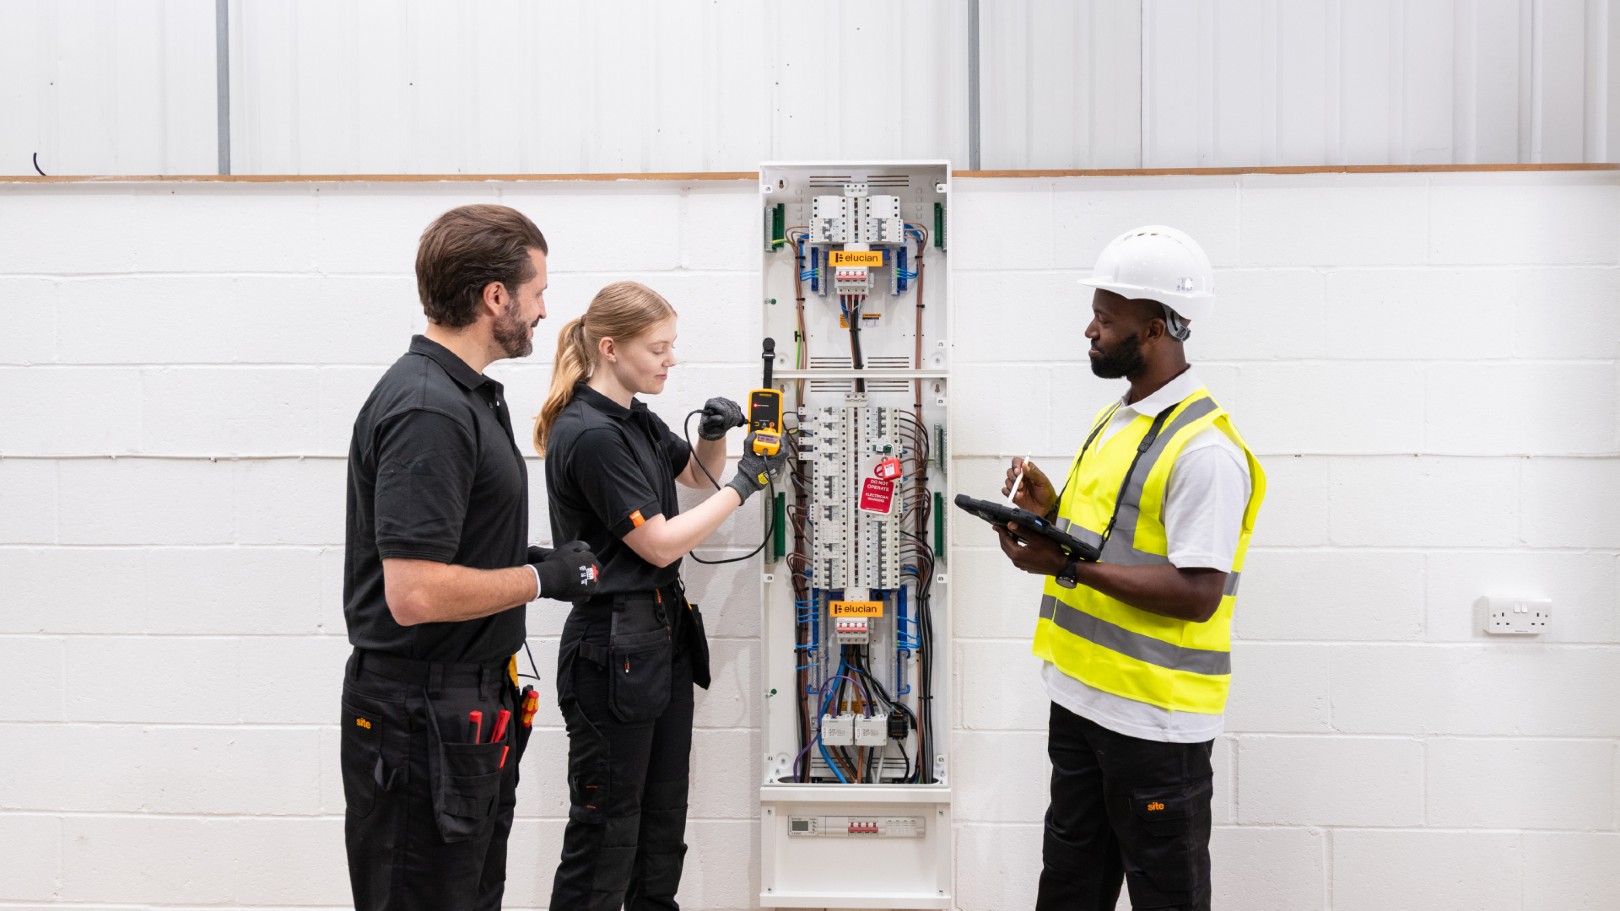
By safely isolating the power supply and implementing measures to prevent it from being accidentally switched back on, these procedures protect anyone carrying out inspection, maintenance, or repair work, protecting people from the risk of electric shock, arc flashes or electrical burns.
Downloadable poster guide to the safe isolation process
Whilst at first glance, the safe isolation procedure can look complicated, if followed correctly in the right sequence, then it’s a relatively simple process that ensures that electrical equipment or circuits are fully disconnected from all sources of electricity before any work begins.
We’ve outlined below 7 key steps of the safe isolation procedure and have produced a helpful poster summary of each of the core safe isolation steps that can be downloaded for free from our website.
Before starting work – compliant equipment and permissions
Prior to commencing with any work, it is extremely important to ensure you have the correct compliant equipment. Essentially, you’ll need:
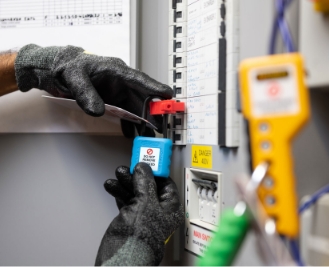
- Lock-off devices and warning tags to securely isolate the supply
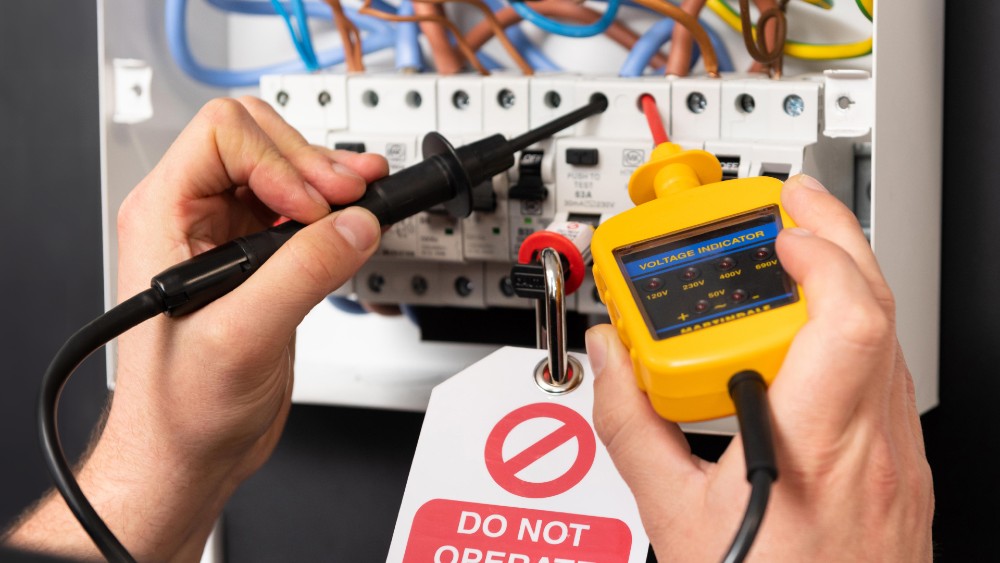
- A compliant device such as a voltage indicator to detect voltage
- A matched proving unit to prove the voltage indicator
Before isolation begins, permission must be obtained from the duty holder or authorised person, and a risk assessment and method statement must be in place.
Safe isolation is a controlled process – not a guess.
7 Key steps to safe isolation
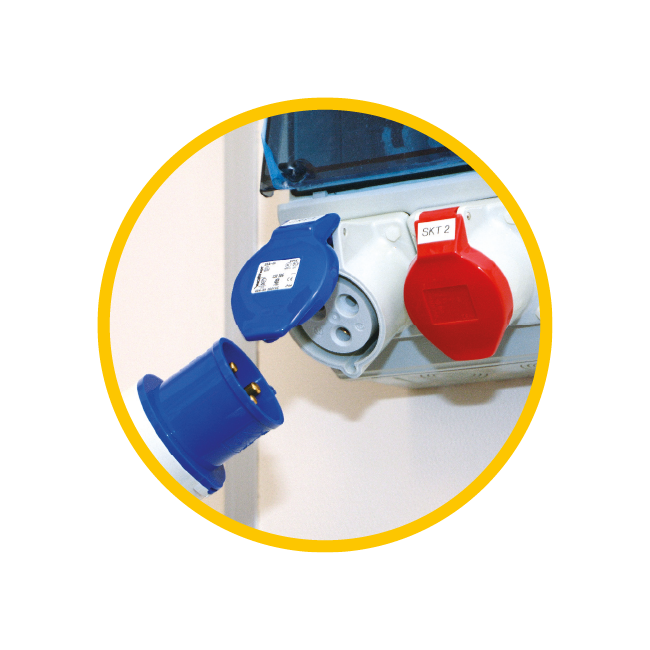
1. Disconnect all leads
Remove all connected plug-in devices from the circuit.
2. Locate the source of the supply
Locate the circuit or equipment to be isolated, identifying possible alternative sources of supply.
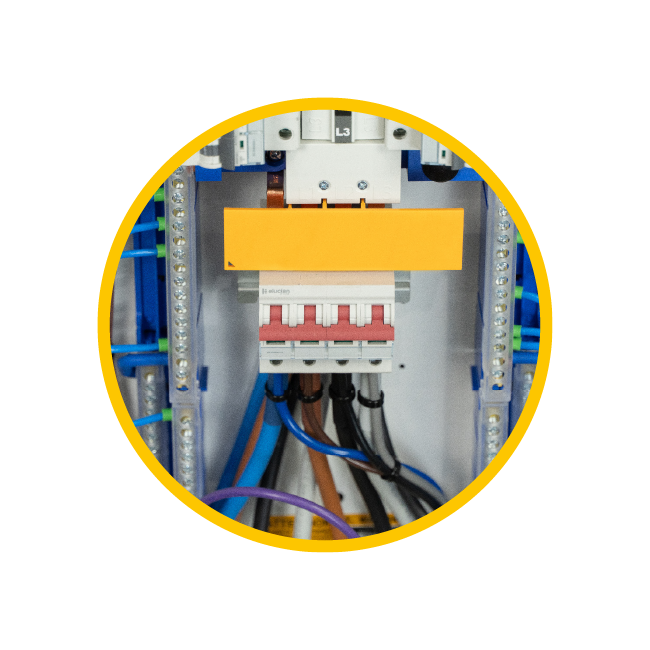
3. Isolate the source of supply. Lock off and place warning tags
Next identify the correct point of isolation and switch it off. Isolate the supply by fitting the appropriate locking off devices, securing in the OFF position using a unique padlock and apply a warning tag.
The unique padlock ensures re-energisation remains under your control at all times.
No lock-off means no safe isolation!
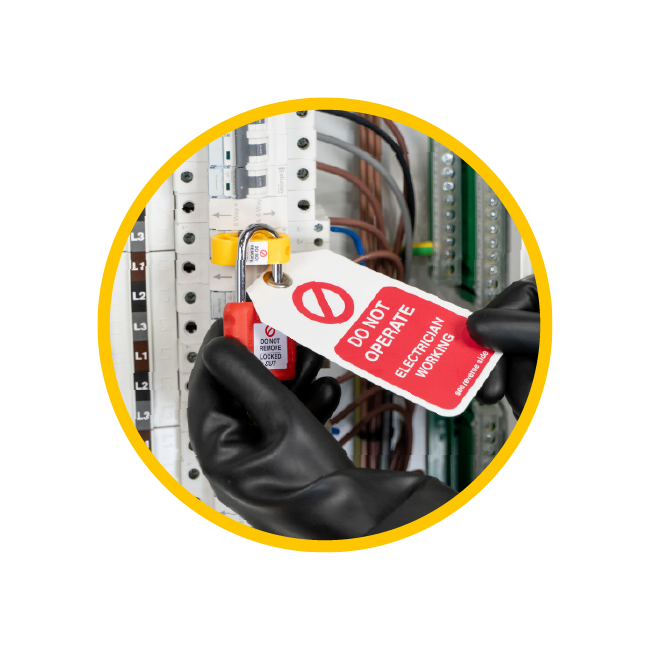
4. Prove your voltage indicator using a proving unit
Prove your compliant voltage indicator before use, using a matched proving unit. Remember using a proving unit is safer and more reliable than relying on a live circuit, you cannot guarantee there will always be a suitable source available. This will confirm your voltage indicator is working correctly.
Next confirm that the circuit is live using the voltage indicator. This step proves the circuit is functioning correctly before isolation.
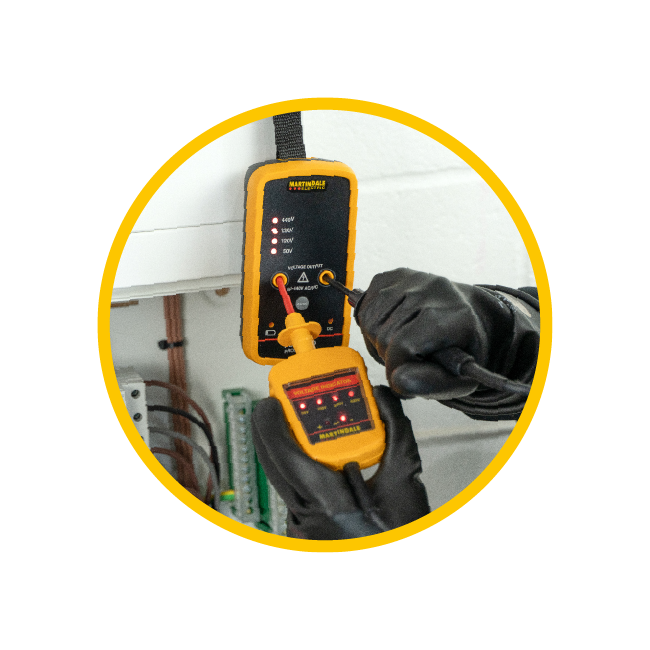
5. Test the supply is isolated
Prove Dead at the point of work, following the correct test sequence.
With the circuit locked off, now prove dead.
For single-phase systems, you need to carry out three tests:
- Line to Neutral
- Line to Earth
- Neutral to Earth
Each test confirms the absence of dangerous voltage on the circuit you intend to work on.
In the case of three phase systems, you need to carry out ten tests:
- Line to Earth: L1 to PE, L2 to PE, L3 to PE
- Earth to Neutral: PE to N.
- Line to Neutral: L1 to N, L2 to N, L3 to N.
- Phase to Phase: L1to L2, L2 to L3, L3 to L1
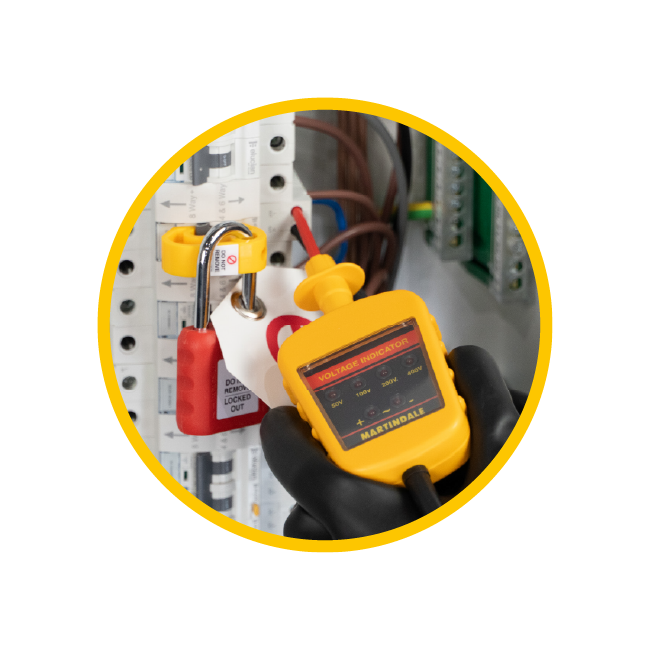
6. Re-prove the voltage indicator using a proving unit
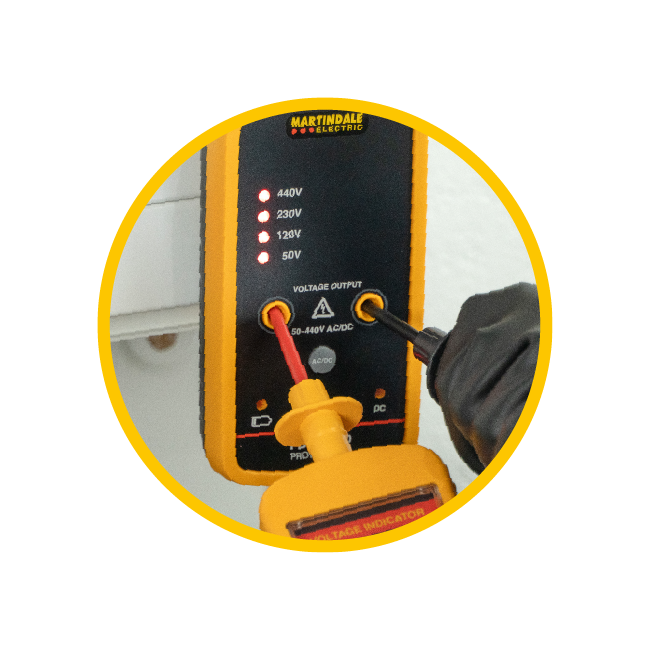
Before work begins, it is essential you re-prove your voltage indicator on the proving unit. This confirms the tester has not failed during use and that the results you’ve seen can be trusted.
7. Complete – work can begin
The circuit is now safely isolated and proved dead. Work can now begin.
If work stops at any point, or conditions change, the circuit must be re-checked before continuing.
That’s the end of the safe isolation process. It is, however, important to mention that when returning to the circuit or equipment after moving away, always recheck with the voltage indicator and proving device.

Re-energising must follow a controlled process
Once work is complete, re-energising must follow a controlled process:
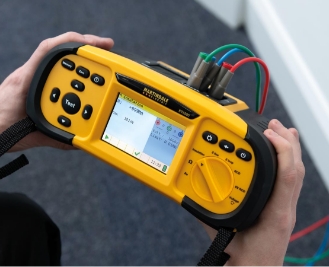
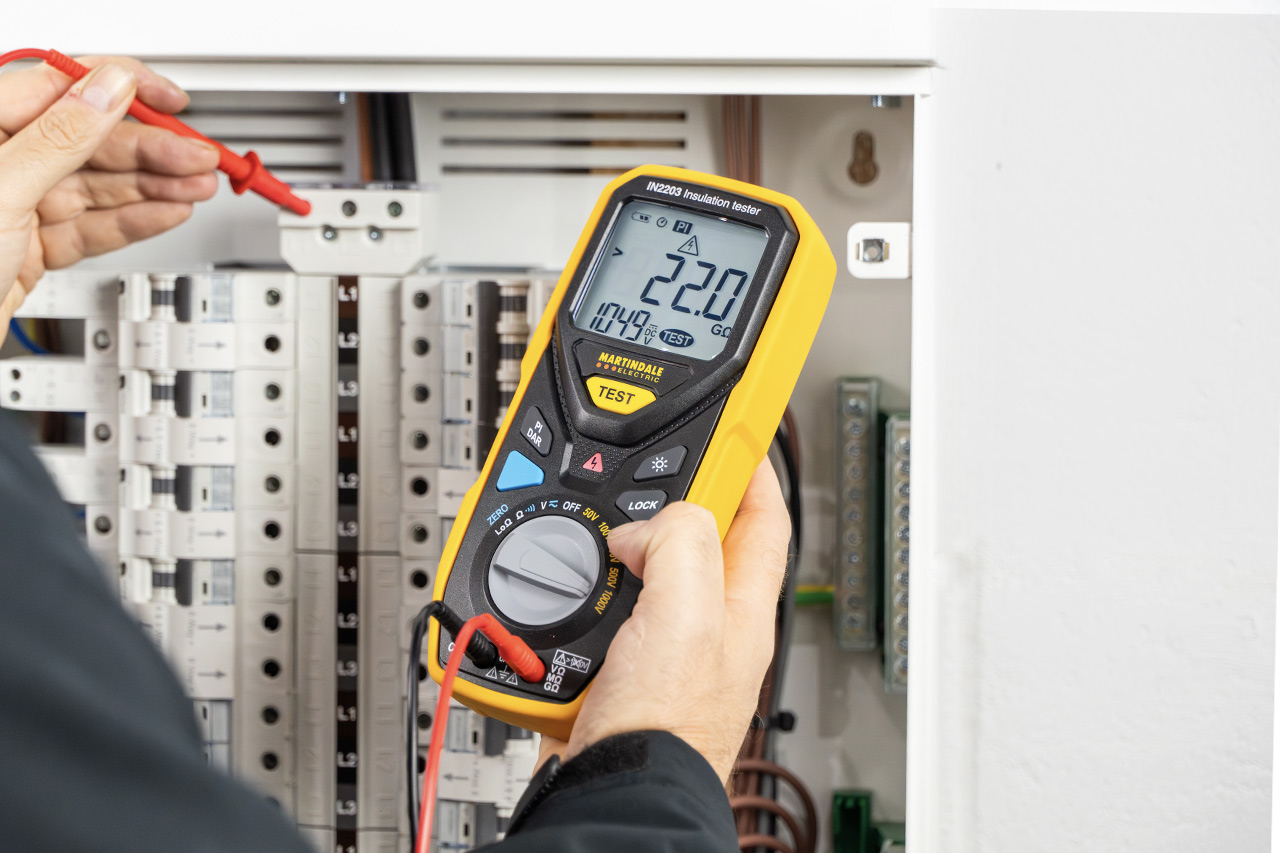
- Inspect and test (BS7671 dead tests)
- Cancel permits (if any), remove lock-off devices and labels, restore supply
- Complete live tests and commission equipment
- Complete and issue appropriate certificates / reports
Free downloadable safe isolation poster PDF
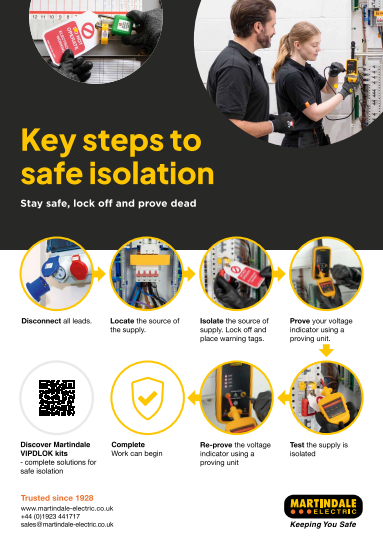
A Summary of these key steps to safe isolation can be found on our helpful, free downloadable poster: 7 Key steps to the safe isolation process.
Martindale – Leaders in safe isolation
Safe isolation is an essential skill that anyone working with electricity should rely on – every single day.
Martindale offers a comprehensive range of safe isolation products and resources to help keep you and your team safe:
Further resources: